Olympic Peninsula Fly Fishers
Port Angeles, Washington

Welcome!
We are located in Port Angeles, Washington. In 2011 our club was awarded the Federation of Fly Fishers McKenzie Cup, recognizing us as the fly fishing club of the year. In 2012 we were awarded the Patriots Award by Project Healing Waters for our work with wounded warriors.
All persons who have an interest in fly fishing are welcome to attend Olympic Peninsula Fly Fishers meetings; you need not be a member.
Our Mission
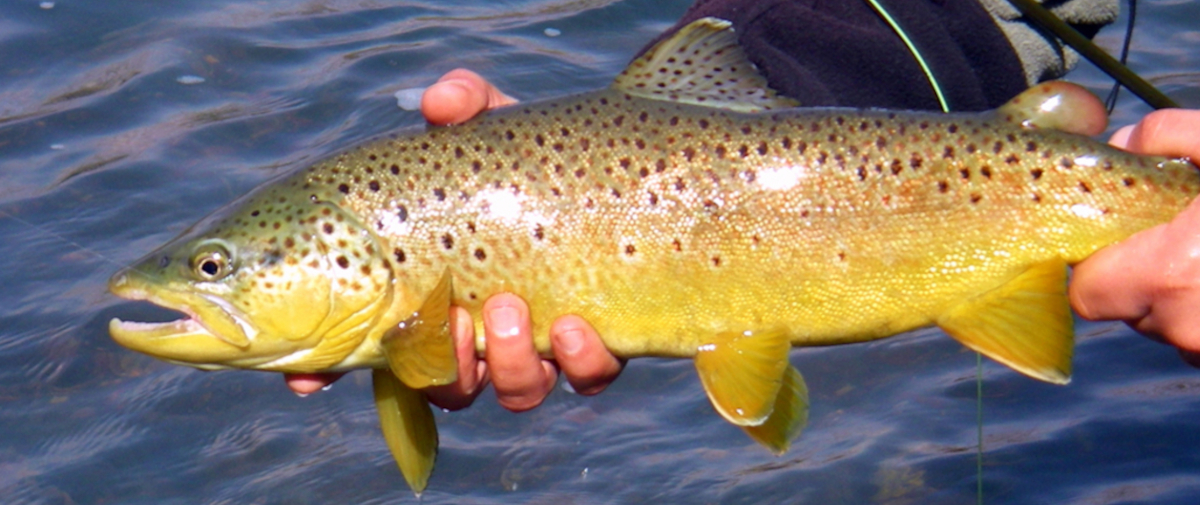
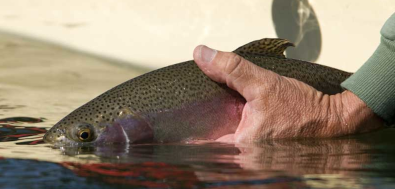
The mission of the Olympic Peninsula Fly Fishers is to promote, encourage, support, and educate the members and the community in the sport of fly fishing, in the conservation of fish and their habitats, and the catch-and-release program to promote the fishery. The OPFF will also conduct workshops, activities, and outings within the community related to fly fishing, fly tying, casting, and other associated events.
Community
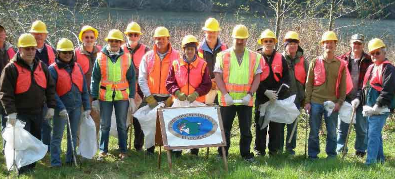
The OPFF has adopted a stretch of Highway 113 by Beaver Lake. We clean up the roadside four times a year and top-off the clean up with a barbecue and afternoon of fishing on the lake.
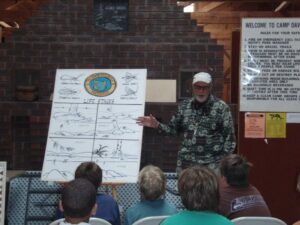
We also support community activities, such as Project Healing Waters, the Port Angeles Kids Fishing Derby, and the Northwest Youth Conservation and Fly Fishing Academy
Meetings
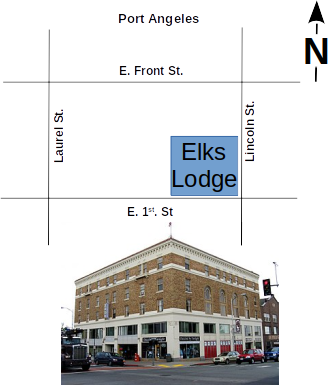
Olympic Peninsula Fly Fishers meetings are held on the 1st Tuesday of the month on the third floor of the Elks Lodge at 131 E. 1st Street in Port Angeles. Our ‘Meet and Greet’ is from 6:00 – 6:30 with the meetings usually wrapping up around 8:30.
Outings
Events are scheduled throughout the year. Weather permitting, we try to have at least one activity per month.